Freezer jam is not shelf-stable, so for long-term storage, it must go in the freezer.The only effective way to make this jam is to use store bought pectin like a JAMSETTA.
Once these jams have set, they should keep for two weeks in the refrigerator or one year in the freezer.
Sterilized containers are not required for no-cook jams, they simply
need to be washed in hot soapy water and rinsed before use. Plastic
freezer containers, or glass jars with tight-fitting lids that are no
larger than 2 cups can be used.
Uncooked freezer jam is a little different than its cooked counterpart.
It doesn't have that thick, cooked-down texture and flavor. Instead,
it looks and tastes like the ripe fruit.
Pick up whatever is ripe and looks good to you:
strawberries, peaches, mango, cherries, blueberries.
If you want to start out with smaller batches, go ahead and halve the
amounts. If you use a different pectin than the ones I used, be sure to
check the label before you start jamming—some of them require more sugar
to set properly.
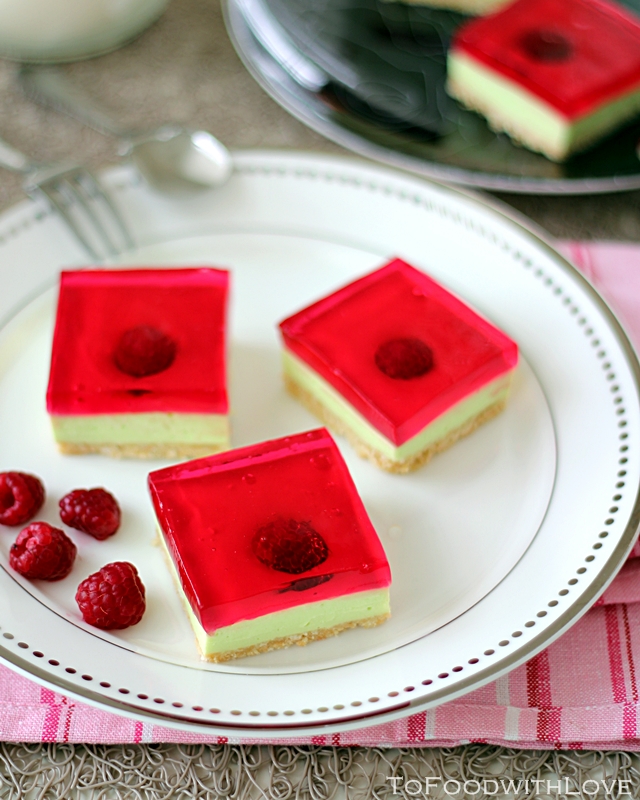
Raspberry Jam
Ingredients
- 8 cups raspberries
- 2 tablespoons kirschwasser
- 2 cups granulated sugar
- Pectin (See below).
Method
1. Crush 8 cups, or 2 pounds, of fresh raspberries and 2 tablespoons kirschwasser. You should have about 4 cups crushed berries.
2. Combine 2 cups granulated sugar and a 45g of instant
fruit pectin and stir into the fruit for three minutes. Transfer the
jam into small jars or containers and allow it to set in the fridge for
24 hours.
3. Transfer to correct container and keep for the recomended time